Follow Me On Social Media!

20-Minute Stovetop Cheese Bread (No-Bake Skillet Recipe, Ready Fast)
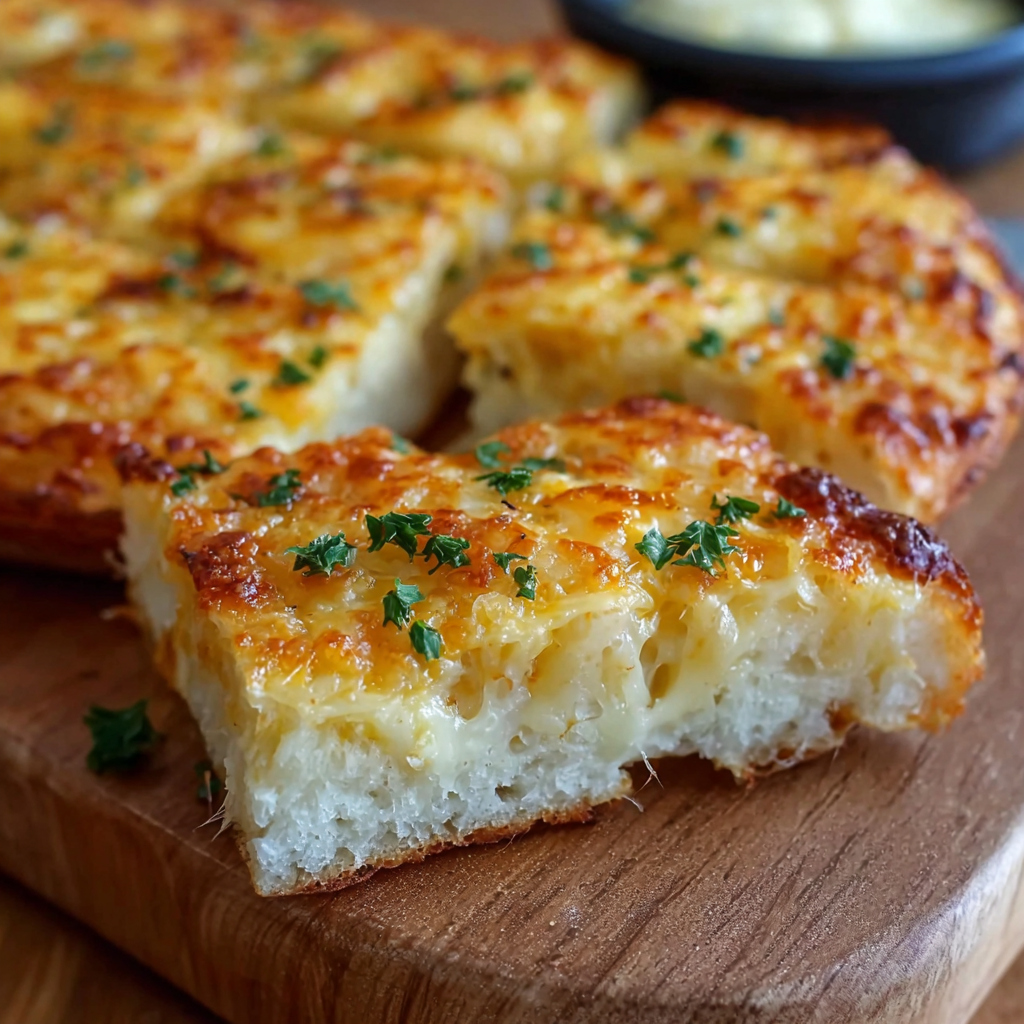
This 20-minute stovetop cheese bread is fluffy, cheesy, and made without an oven or yeast. A quick skillet recipe you'll want to make on repeat.

If you’ve been craving warm homemade bread but don’t want to deal with the oven, this stovetop cheese bread is about to become your new favorite shortcut. It’s soft in the middle, golden on the outside, and stuffed with gooey melted cheese in every bite. I make it on lazy Sundays, busy weeknights, and any time I want something cozy on the table in about twenty minutes.
Fun fact: variations of stovetop cheese-filled flatbread show up all over the world, from Georgian khachapuri to Turkish pide and Colombian arepas de queso. The idea of pan-cooked cheesy dough is truly a global comfort food language.
Why this recipe works
- No oven, no yeast, and no waiting around for dough to rise.
- Yogurt keeps the dough tender, tangy, and unbelievably soft inside.
- The lidded skillet works like a mini oven, melting the cheese while the crust turns beautifully golden.
- Everything comes from basic pantry staples you probably already have.
- It’s a very forgiving recipe, perfect for beginner bakers or kids helping in the kitchen.
Ingredients
- 2 cups all-purpose flour
- 1 tablespoon baking powder
- ½ teaspoon salt
- ¾ cup plain yogurt or Greek yogurt
- ¼ cup milk
- 2 tablespoons olive oil or melted butter
- 1 ½ cups shredded mozzarella cheese
- ½ cup shredded cheddar cheese
- 1 teaspoon garlic powder
- 1 tablespoon chopped parsley or green onions (optional)
- 1 tablespoon butter or olive oil, for cooking
Instructions
Step 1: Mix a quick soft dough
In a large mixing bowl, whisk the flour, baking powder, and salt together so the leavener is evenly distributed. Pour in the yogurt, milk, and olive oil, then stir until a soft, slightly shaggy dough comes together. If it feels sticky, sprinkle in a spoonful more flour until it’s easy to handle.
Step 2: Stir up the cheesy filling
Grab a smaller bowl and toss the mozzarella and cheddar with the garlic powder. Add the chopped parsley or green onions if you want a little fresh, herby lift. Give it all a quick mix so the seasonings coat the cheese evenly.
Step 3: Shape and stuff the bread
Lightly flour your counter and divide the dough in half. Roll or pat each piece into a round about the size of a small dinner plate. Pile the cheese mixture into the center, then gently pull the edges up and pinch them together to seal. Flip the sealed side down and press gently into a thick disc.
Step 4: Warm up the skillet
Set a large nonstick skillet over medium-low heat and let it warm through. Add the butter or olive oil and swirl it around to coat the pan. Low and slow is the secret here, so resist the urge to crank up the heat.
Step 5: Cook until golden
Slide one bread into the pan and cover with a lid. Cook for about 4 to 5 minutes per side, until the outside is a deep golden brown and the inside feels cooked through when you press the top. The lid traps steam and helps the cheese in the center melt into an ooey, gooey pocket.
Step 6: Slice and serve warm
Transfer the bread to a cutting board and let it rest for a minute or two so the cheese sets slightly. Cut into thick wedges and serve while the middle is still stretchy and melty. Repeat with the second dough round.
Nutrition information
- Calories: approximately 310 per serving
- Protein: 13 g
- Carbohydrates: 32 g
- Fat: 14 g
- Fiber: 1 g
- Sodium: 480 mg
Values are estimates for one wedge, based on a yield of six servings.
Pro tips for the best stovetop cheese bread
- Shred your own cheese from a block. Pre-shredded bags contain anti-caking starch that gets in the way of that lush, stringy melt.
- Keep the heat gentle. Medium-low gives the dough time to cook through before the crust darkens too quickly.
- Don’t overstuff the middle. A generous handful is plenty, and packing in too much cheese can cause leaks in the pan.
- Always cover the skillet. The trapped heat acts like a mini oven and gives you that light, fluffy interior.
- Brush the outside with a little extra butter halfway through cooking if you want an even crispier golden crust.
Frequently asked questions
Do I need yeast for this bread?
Not at all. The lift comes entirely from baking powder, which is why the dough is ready to cook the moment you finish mixing. No proofing, no rise time.
Can I make it gluten-free?
Yes, swap the all-purpose flour for a good 1-to-1 gluten-free baking blend. Look for one that contains xanthan gum so the dough holds together while you shape it.
What cheeses melt best inside?
Mozzarella is the go-to for that classic cheese pull, but Monterey Jack, gouda, provolone, or even a little feta all work beautifully. Blending two cheeses gives the richest flavor.
How do I store and reheat leftovers?
Wrap cooled bread tightly and keep it in the fridge for up to three days. Rewarm slices in a dry skillet or the air fryer for a few minutes to bring back the crispy edges and melty middle.
Can I make the dough ahead of time?
Since it uses baking powder, this dough is at its fluffiest when cooked right after mixing. If needed, you can refrigerate it for a few hours, but expect a slightly denser texture once cooked.