
Follow Me On Social Media!

Red Velvet Marble Waffles (The Ultimate Brunch Centerpiece)
Introduction
Why choose between a classic buttermilk waffle and a decadent red velvet one when you can have both?
Red Velvet Marble Waffles are the visual showstopper of the breakfast world. By swirling crimson chocolate batter with snowy vanilla batter, you create a stunning mosaic effect that looks complicated but is surprisingly easy to execute.
This recipe relies on a single “Master Batter” that is split in half. The result is a perfect textural marriage: the red velvet sections offer that signature subtle cocoa tang, while the vanilla sections provide a sweet, buttery contrast. Topped with a cream cheese glaze, this is the definitive recipe for Valentine’s Day, Christmas morning, or any Sunday when you want to impress without stress.
Ingredients List
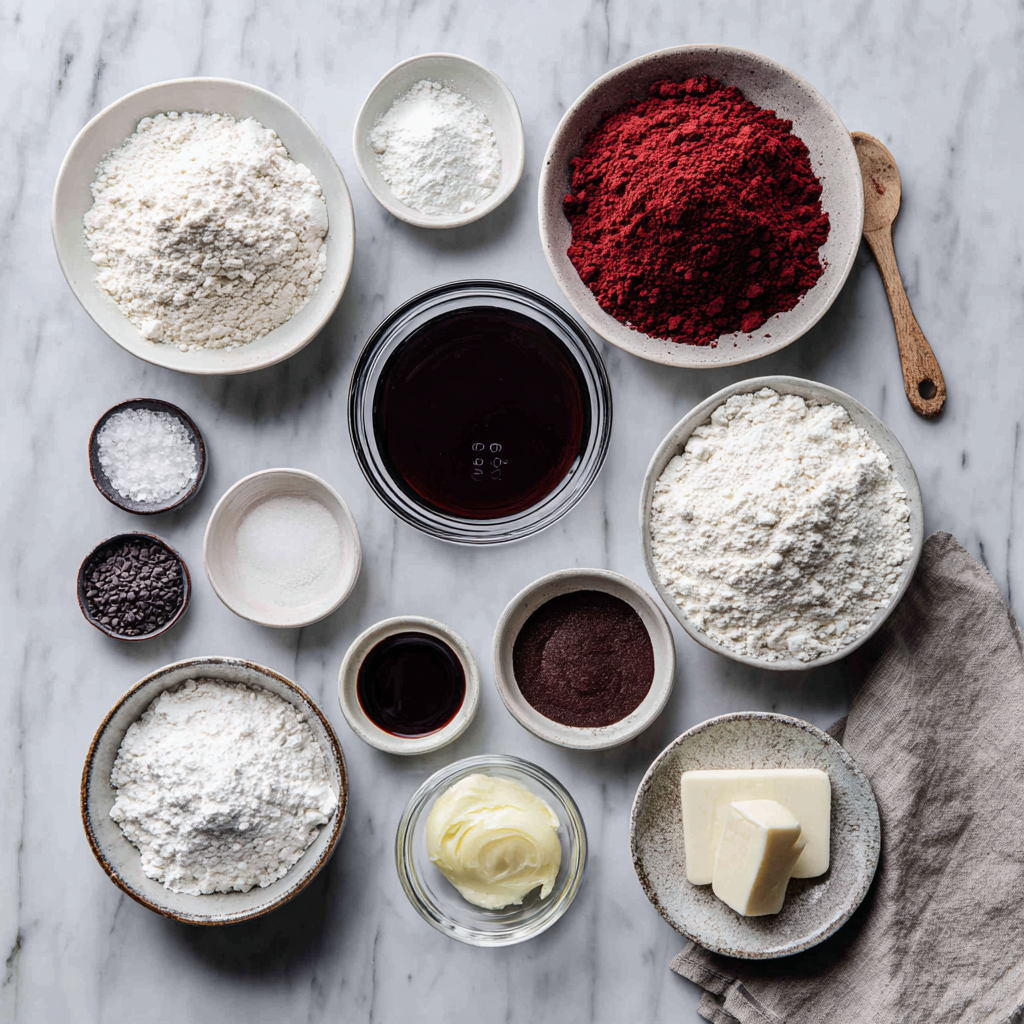
We start with one base batter to ensure both colors cook at the exact same rate.
The Master Dry Mix
- 2 cups All-Purpose Flour: Spooned and leveled.
- ¼ cup Granulated Sugar.
- 4 tsp Baking Powder: For maximum fluffiness.
- ½ tsp Salt.
The Master Wet Mix
- 2 Large Eggs: Separated (Whisk whites for extra fluff, or leave whole for ease. We will do whole for speed).
- 1 ¾ cups Buttermilk:
- The Secret: Buttermilk is non-negotiable for Red Velvet. The acid interacts with the cocoa and baking soda to tenderize the gluten and create that distinct tangy flavor.
- ½ cup (1 stick) Unsalted Butter: Melted and slightly cooled.
- 2 tsp Vanilla Extract.
The “Red Velvet” Transformation
- 2 tbsp Unsweetened Cocoa Powder.
- 1 tbsp Red Food Coloring:
- Pro Tip: Use Gel Paste (like Wilton or AmeriColor) if possible. Liquid dye works, but you need a lot of it, which can water down the batter. Gel yields a vibrant, deep red without altering the texture.
- 1 tbsp Milk: To balance the moisture after adding the drying cocoa powder.
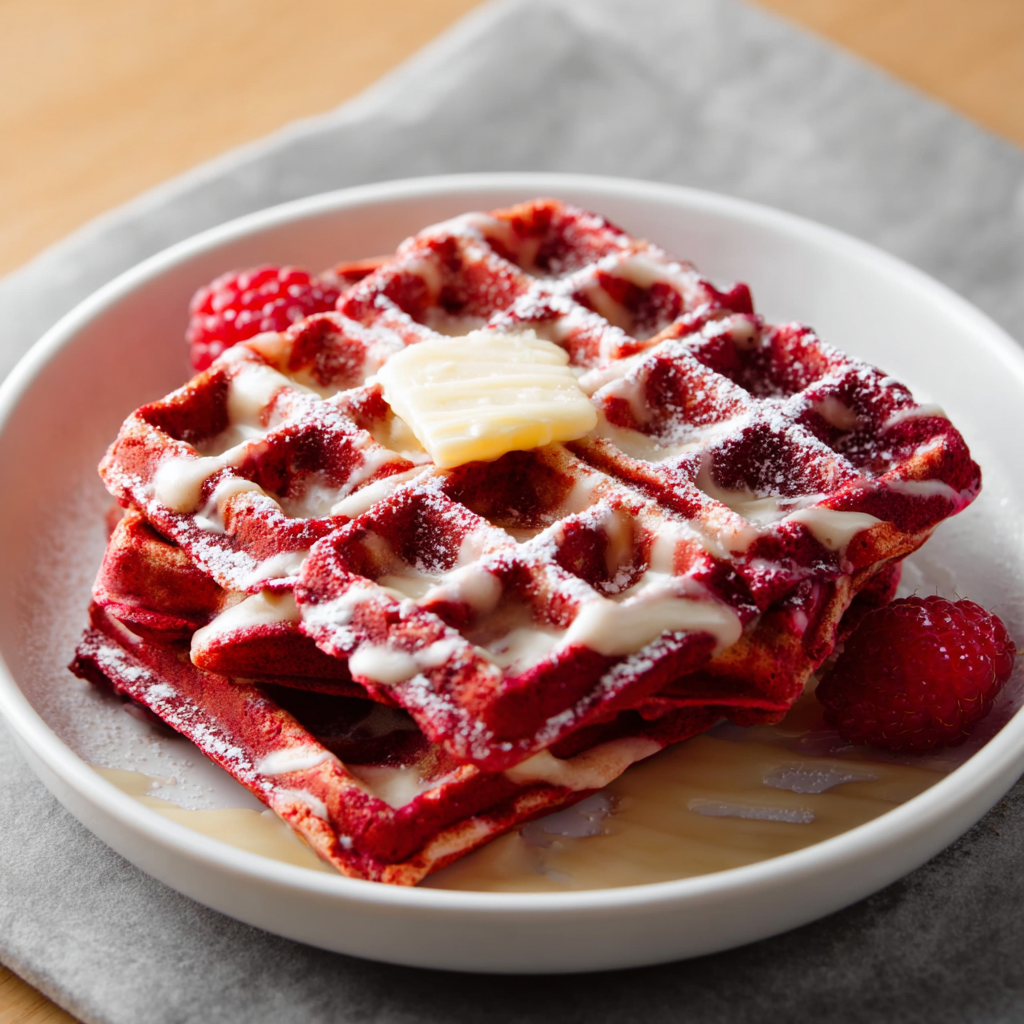
Sensory Note: Visually, the contrast between the deep burgundy and the creamy white is striking. The flavor is a dance between warm vanilla cake and mild chocolate.
Timing
The prep takes a few minutes longer than standard waffles due to the batter splitting, but the cooking time is the same.
- Prep Time: 15 minutes
- Cook Time: 5 minutes per waffle
- Total Time: ~35 minutes
- Yields: 4–5 Belgian Waffles
Data Insight: Waffle irons vary significantly in temperature. Standard irons heat to $350^\circ F$, while professional ones hit $400^\circ F$. For marbled waffles, a hotter iron is better; it sets the crust quickly, locking the swirl pattern in place before the colors bleed together.
Step-by-Step Instructions
Step 1: The Base Batter
- Preheat your waffle iron.
- In a large bowl, whisk the flour, sugar, baking powder, and salt.
- In a separate bowl, whisk the eggs, buttermilk, melted butter, and vanilla.
- Pour the wet ingredients into the dry. Whisk gently until just combined. Lumps are okay! Do not overmix, or the waffles will be rubbery.
Step 2: The Split
- Pour roughly half of the batter into a second bowl.
- Bowl A (Vanilla): Leave this one alone. It is ready.
- Bowl B (Red Velvet): Sift the cocoa powder into this bowl. Add the red food coloring and the 1 tbsp milk. Whisk until the color is uniform and no cocoa streaks remain.
- Consistency Check: Both batters should have the same thickness. If the red one is too thick (due to cocoa), add another splash of milk.

Step 3: The Marbling Technique
- The Pour: Spray the hot iron with non-stick spray.
- Using two spoons (or measuring cups), drop dollops of batter onto the iron in a checkerboard pattern.
- Example: Drop a spoonful of Red in the top left, Vanilla in the top right, etc.
- The Swirl: Use a toothpick or skewer to gently swirl the colors together once or twice.
- Warning: Do not over-swirl! If you mix too much, you will just get a pink waffle. You want distinct patches of red and white.
Step 4: Cook
- Close the lid and cook for 3–5 minutes.
- Doneness Test: Wait for the steam to stop escaping from the sides of the iron. This indicates the moisture has cooked out and the outside is crisp.
Step 5: Serve
- Remove carefully with a fork. Serve immediately while the edges are crisp.
Nutritional Information
A brunch indulgence. Below is the estimated breakdown per waffle (without syrup).
| Nutrient | Amount per Serving | % Daily Value* |
| Calories | 380 kcal | 19% |
| Total Fat | 18g | 28% |
| Saturated Fat | 10g | 50% |
| Carbohydrates | 45g | 15% |
| Sugars | 12g | – |
| Protein | 9g | 18% |
Variations for the Recipe
- Double Chocolate: Add mini chocolate chips to the red batter for texture and extra richness.
- Cheesecake Stuffed: Place a dollop of sweetened cream cheese between layers of batter before closing the iron.
- Pink Velvet: Use pink dye and skip the cocoa powder for a vanilla-strawberry flavored look (great for kids).
- Dessert Mode: Serve with a scoop of vanilla ice cream and hot fudge sauce for a “Waffle Sundae.”
Serving Suggestions
- The Mandatory Topping: Red Velvet requires Cream Cheese Glaze (Cream cheese + powdered sugar + milk). Maple syrup is okay, but the tangy glaze is authentic to the flavor profile.
- The Fruit: Fresh Strawberries or Raspberries look beautiful against the red batter.
- The Garnish: A dusting of powdered sugar or cocoa powder adds a professional finish.
Common Mistakes to Avoid
- The “Pink” Waffle:
- The Issue: Swirling the batter too aggressively on the iron.
- The Result: The colors blend into a uniform light pink.
- The Fix: Less is more. Just drop the batters next to each other; closing the lid will naturally push them together.
- Different Consistencies:
- The Issue: Not adding extra milk to the cocoa batter.
- The Result: The vanilla part cooks perfectly, but the red part is dry and dense.
- The Fix: Ensure both batters flow off the spoon at the same speed.
- Using Regular Milk:
- The Issue: Skipping buttermilk.
- The Result: Bland flavor and less rise.
- The Fix: Make a DIY buttermilk substitute (1 cup milk + 1 tbsp vinegar/lemon juice).
Storing Tips for the Recipe
- Freezing: These freeze exceptionally well. Let cool completely, stack with parchment paper in between, and freeze in a Ziploc bag for 2 months.
- Reheating: Pop the frozen waffle directly into the toaster. This re-crisps the edges better than the microwave.
Conclusion
Red Velvet Marble Waffles are proof that breakfast should be fun. They capture the elegance of a fancy bakery dessert but are achievable in your own kitchen in under 30 minutes. The swirl of colors is mesmerizing, and the taste—that perfect balance of tangy buttermilk, sweet vanilla, and earthy cocoa—is pure comfort.
Ready to swirl? Plug in that iron! If you try this recipe, please leave a star rating below and let us know: did you use gel or liquid dye? Don’t forget to subscribe to our newsletter for more holiday breakfast hacks.
FAQs
Q: Can I use pancake mix?
A: Yes. Prepare the pancake mix according to the box (adding a little oil for waffles). Split the batter and proceed with Step 2 (adding cocoa/dye to half).
Q: Do I have to use cocoa powder?
A: If you want authentic “Red Velvet” flavor, yes. If you just want red-colored vanilla waffles, you can skip the cocoa, but the flavor will be one-note.
Q: Can I make the batter the night before?
A: Yes. Cover the bowls tightly and refrigerate. You may need to whisk them briefly in the morning as they might separate slightly.