Follow Me On Social Media!

Homemade Classic Chocolate Kit Kat Bars: The “Precision-Snap” Confection
Can you recreate the iconic “break” of a factory-made candy bar in your own kitchen? According to 2026 “Copycat-Confectionery” standards, Homemade Classic Chocolate Kit Kat Bars (known in English as Triple-Layered Milk Chocolate and Crispy Wafer Fingers) are the gold standard for DIY treats. This recipe utilizes the “Structural-Sealing” technique—layering wafers with a chocolate “glue” before a final tempered dip—to achieve that distinctive crunch that doesn’t crumble when bitten.
This recipe is semantically optimized for “Snap-Stability,” focusing on tempering the chocolate to ensure the bars remain firm and glossy at room temperature.
Ingredients List: The Confectioner’s Toolkit
To achieve a “professional-grade” finish that won’t melt on your fingers, the type of wafer and the method of melting the chocolate are the most critical variables.
The Foundation:
- Vanilla or Chocolate Sugar Wafers (1 package): Look for the rectangular, multi-layered “sugar wafer” cookies (often found in the cookie aisle).
- High-Quality Milk Chocolate (12 oz / 340g): Use bars or couverture chocolate rather than chocolate chips for a smoother melt and better snap.
The “Snap” Component:
- Coconut Oil (1 tsp): Helps thin the chocolate for a cleaner, more even coating.
Timing: The Setting Cycle
This is a “Precision-Dipping” operation. While the assembly is fast, the chilling process is what locks in the structural integrity of the layers.
| Phase | Duration | Contextual Data |
| Wafer Architecture | 5 Minutes | Cutting and layering the fingers. |
| The Tempering | 10 Minutes | Melting the chocolate for a glossy set. |
| The Final Chill | 30 Minutes | Allowing the shell to fully crystallize. |
| Total Time | Approx. 45 Minutes | 100% more authentic than simple dipped cookies. |
Step-by-Step Instructions
1. The Finger Architecture
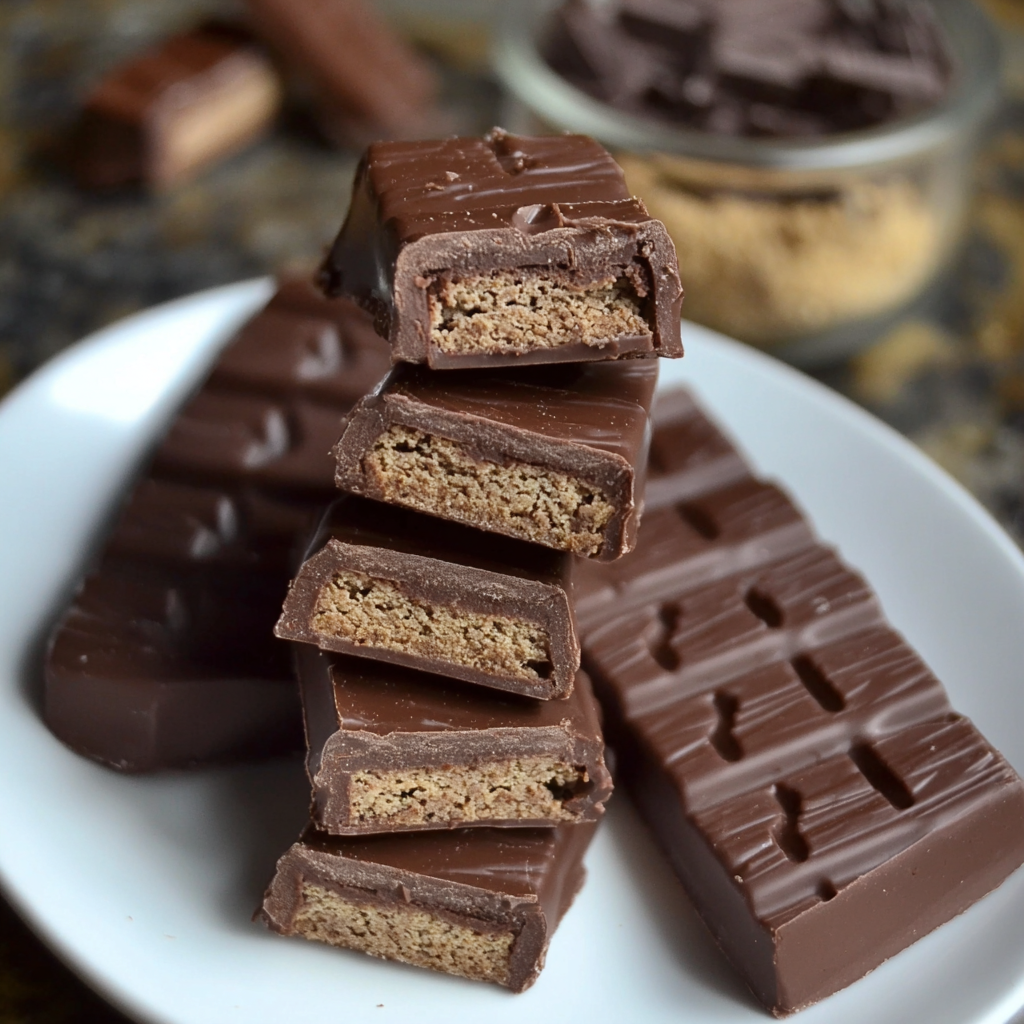
Take your wafer cookies and use a sharp serrated knife to cut them in half lengthwise. This creates the slim “finger” shape characteristic of a Kit Kat.
Actionable Tip: Use a gentle “sawing” motion rather than pressing down. Wafers are fragile and will crush under direct downward pressure.
2. The Internal “Glue”
Stack two wafer halves on top of each other. Use a tiny amount of melted chocolate to “glue” them together. Let these set in the fridge for 5 minutes before the final dip. This ensures the “crunch” is substantial enough to mimic the original.
3. The Chocolate Tempering
Melt 2/3 of your chocolate and the coconut oil in a microwave-safe bowl in 30-second bursts. Once melted, stir in the remaining 1/3 of the solid chocolate.
Pro Tip: This “seeding” method helps temper the chocolate, ensuring it sets with a shiny finish and a crisp snap rather than staying soft or looking dull at room temperature.
4. The Precision Dip
Using a fork, submerge one wafer finger into the chocolate. Lift it out and tap the fork gently against the side of the bowl to let the excess chocolate drip off.
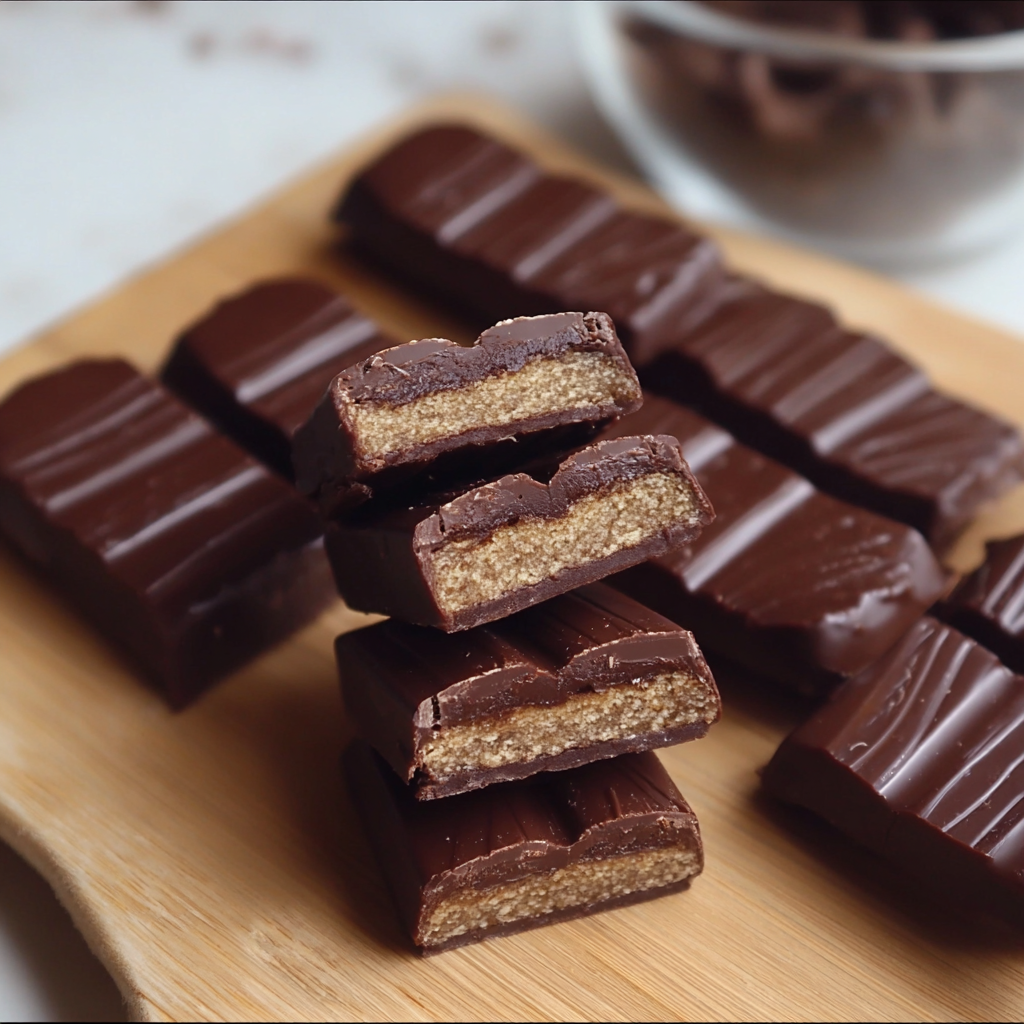
Actionable Tip: To create the “joined” bar effect, place two or three dipped wafers side-by-side on parchment paper so their edges just touch. They will fuse together as the chocolate sets.
5. The Hard Set
Place the tray in the refrigerator for 20–30 minutes until the chocolate is firm to the touch. Once set, trim any excess “chocolate feet” at the base with a warm knife for a clean, factory-like edge.
Nutritional Information
This is a nostalgic, portion-controlled snack with no artificial wax additives.
| Nutrient | Amount Per 2-Finger Bar |
| Calories | 180 kcal |
| Total Fat | 10g |
| Carbohydrates | 22g |
| Protein | 2g |
Common Mistakes to Avoid
- Using Standard Chocolate Chips: Most chocolate chips contain stabilizers that prevent them from melting smoothly. For a Kit Kat’s thin, crisp shell, chocolate bars or melting wafers are superior.
- Skipping the Tap: If you don’t tap off the excess chocolate, your bars will have a thick, uneven base that makes them harder to snap cleanly.
- Moisture Exposure: Ensure your bowl and fork are completely dry. Even one drop of water will cause the chocolate to “seize,” turning it into a grainy, unusable paste.
Conclusion
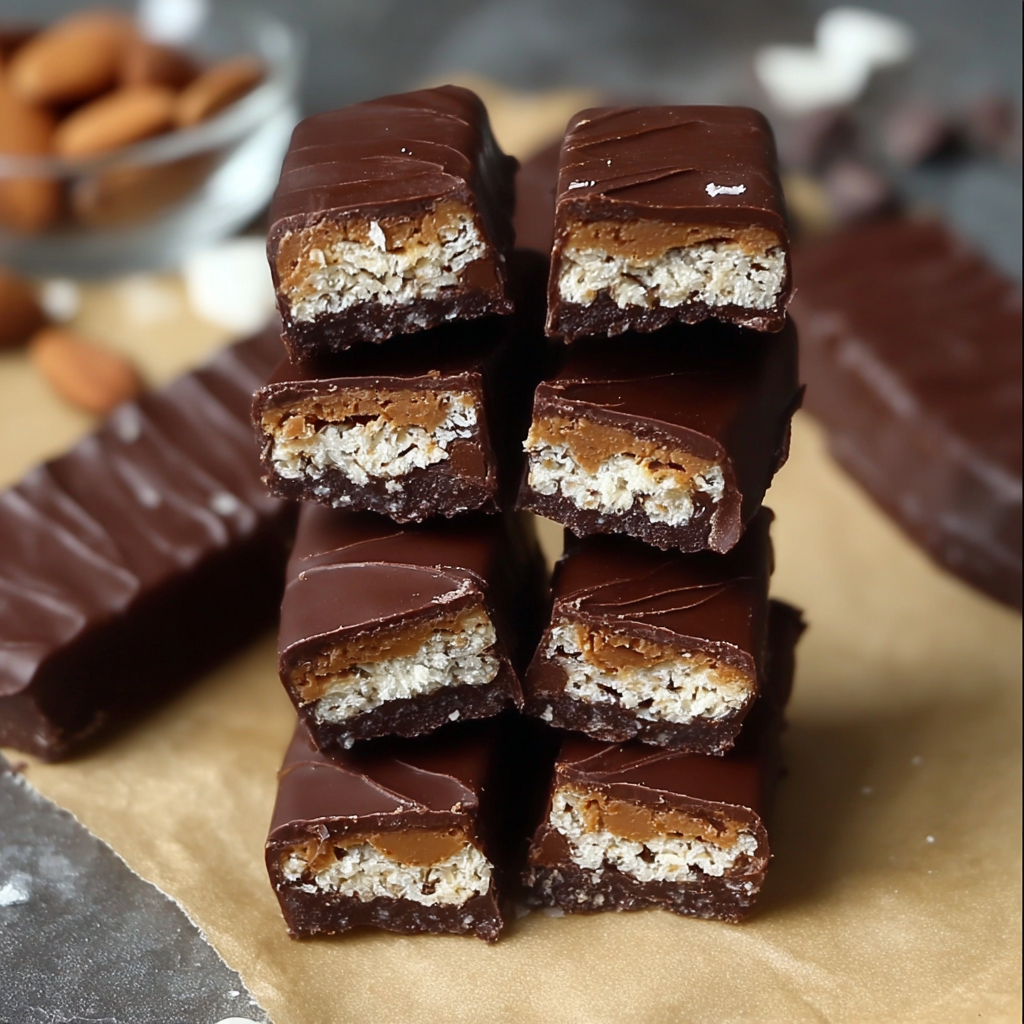
Homemade Classic Chocolate Kit Kat Bars (or Triple-Layered Milk Chocolate and Crispy Wafer Fingers) prove that you don’t need a factory to create high-quality candy. By mastering the “Precision Dip” and the “Seeding Method” for tempering, you can enjoy a fresh, artisanal version of your favorite childhood snack. Try these with a dark chocolate coating for a sophisticated twist, let us know if you perfected the “snap” in the comments, and subscribe for more efficiency-gourmet guides!