Follow Me On Social Media!

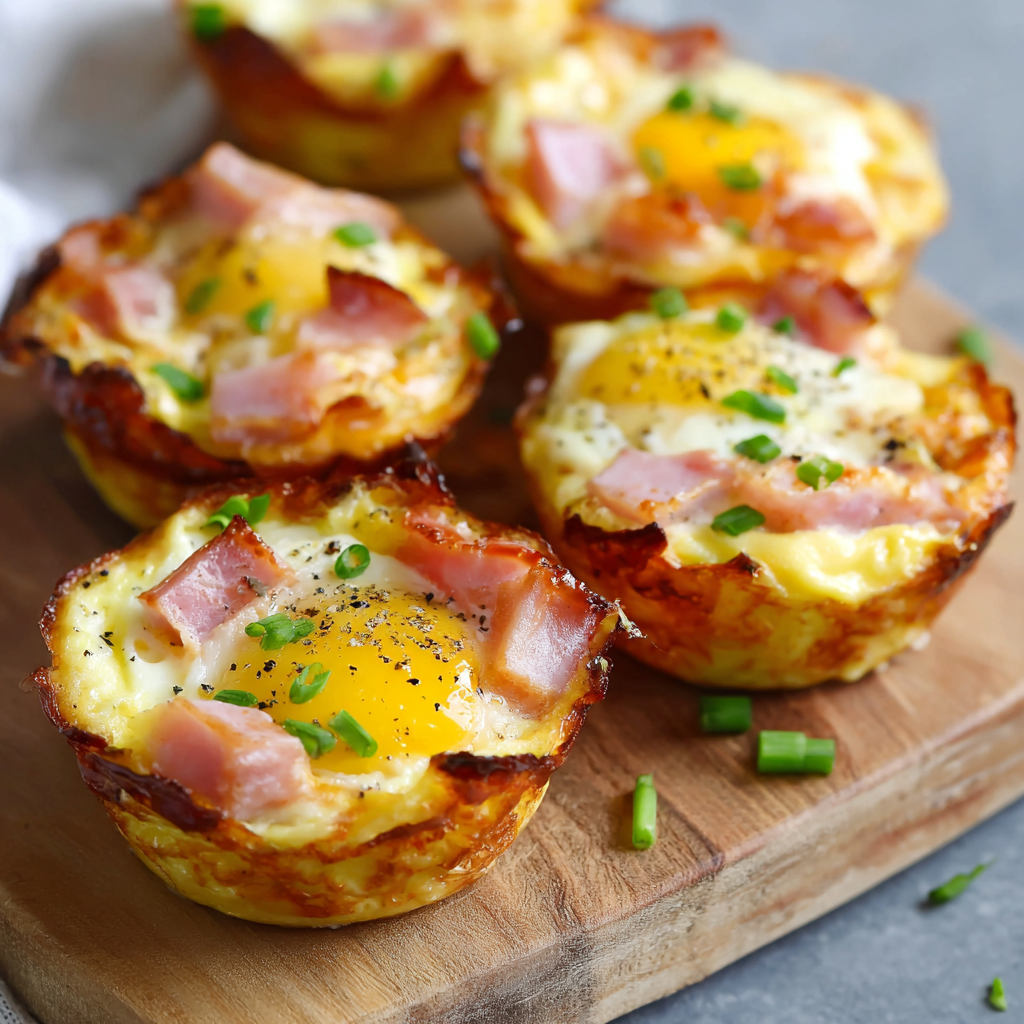
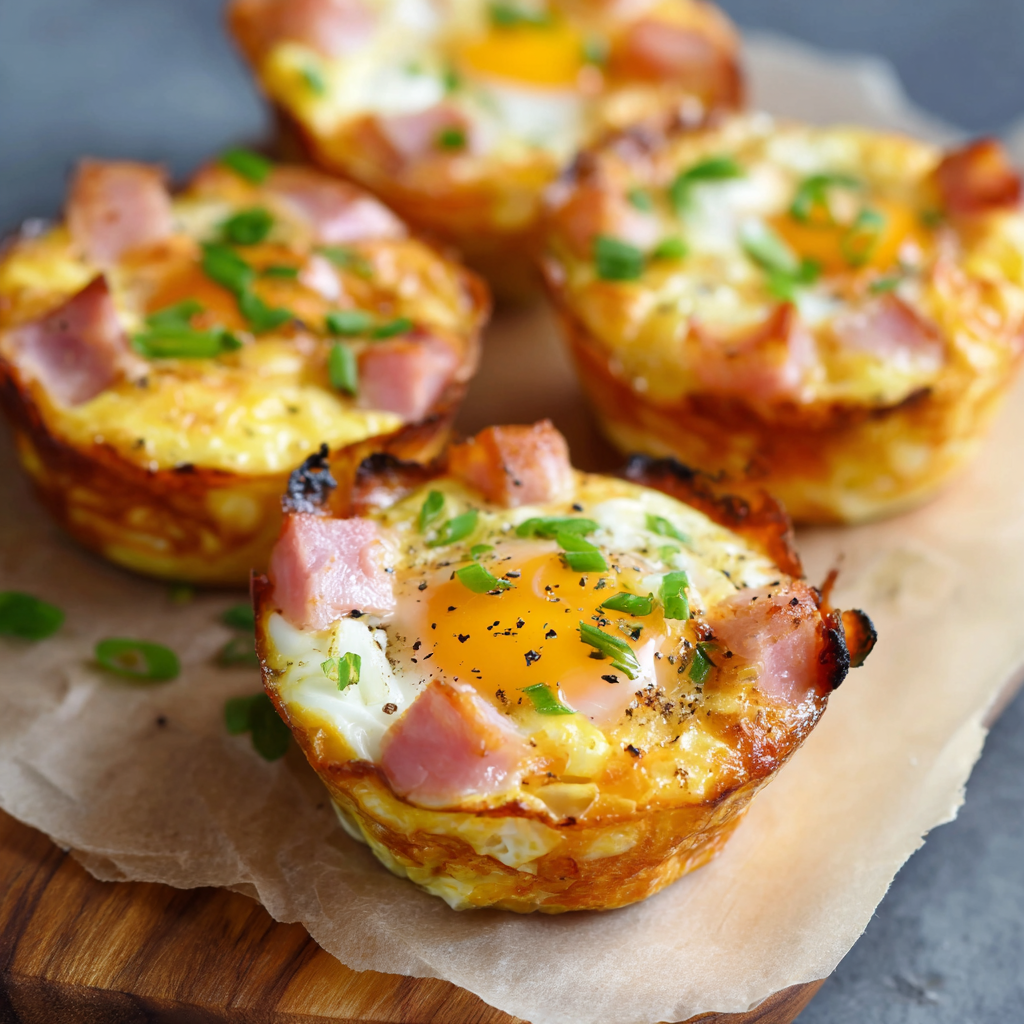
Ham and Cheese Egg Cups: The “Protein-Pocket” Breakfast
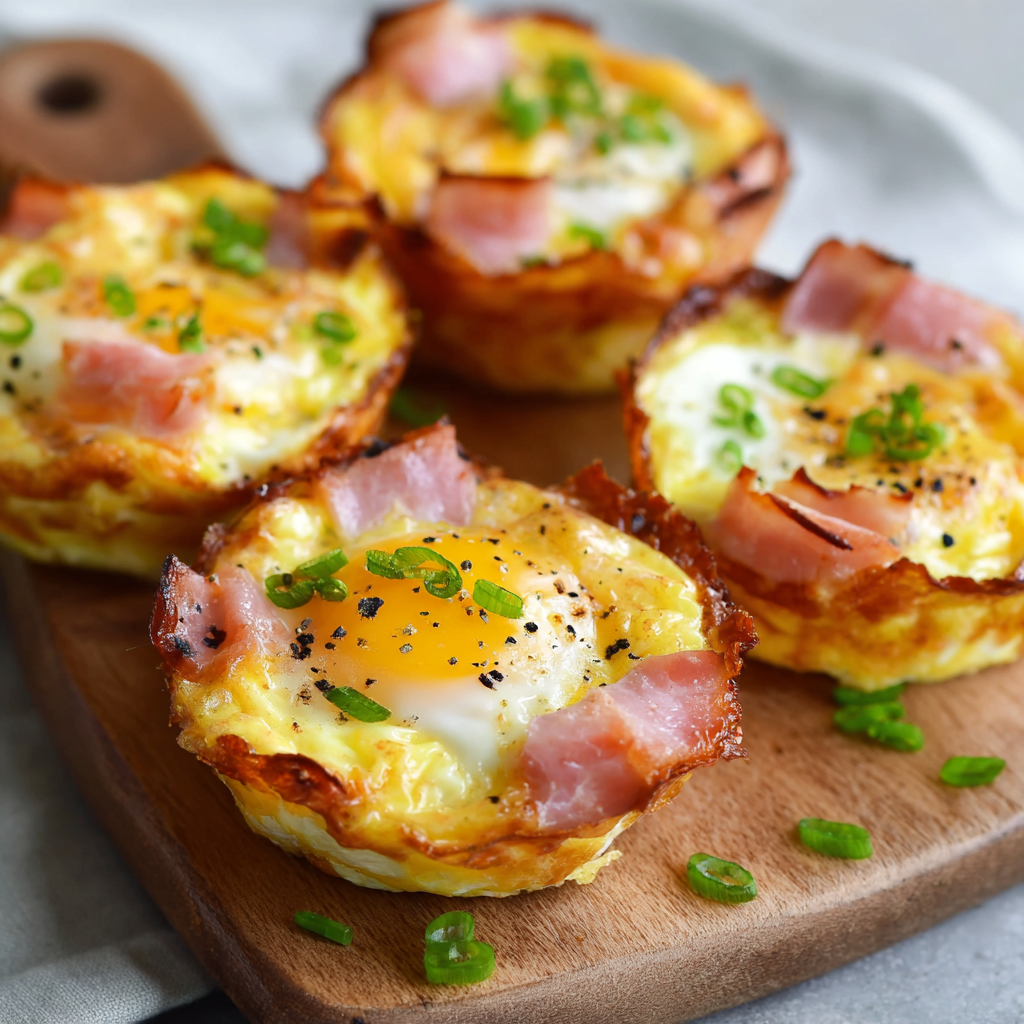
Can you have a gourmet, high-protein breakfast ready in the time it takes to brew a pot of coffee? According to 2026 “Bio-Efficient” culinary standards, Ham and Cheese Egg Cups (known in English as Baked Egg and Savory Ham Crustless Quiches) are the gold standard for meal-prep mastery. This recipe utilizes the “Structural-Casing” technique—using the ham slice itself as a natural, edible liner—resulting in a perfectly portioned, low-carb meal that requires zero pastry skills.
This recipe is semantically optimized for “Heat-Uniformity,” ensuring the yolk sets without the edges becoming rubbery.
Ingredients List: The Breakfast Toolkit
To achieve a “custard-like” center and a crispy ham edge, the thickness of the deli meat and the grade of the eggs are the most critical variables.
The “Casing” & Protein:
- Deli Ham (12 thin slices): Choose a high-quality “Black Forest” or “Honey” ham. Ensure they are circular and wide enough to line a muffin tin.
- Large Eggs (12): Fresh, pasture-raised eggs provide the best “golden” yolk color.
The “Flavor-Matrix” Fillings:
- Shredded Sharp Cheddar or Gruyère (½ cup): High-moisture cheeses melt most evenly.
- Fresh Chives or Scallions (2 tbsp, finely chopped).
- Optional: Diced bell peppers or sautéed spinach for added micronutrients.
The “Finishing” Dust:
- Smoked Paprika & Freshly Cracked Black Pepper.
- Sea Salt: Note that ham is naturally salty, so use a light hand.
Timing: The Low-Convection Cycle
This is a “Gentle-Heat” operation. Because eggs are sensitive to thermal shock, baking at a moderate temperature prevents the “weeping” of liquid often seen in overcooked egg dishes.
| Phase | Duration | Contextual Data |
| The Tin Prep | 3 Minutes | Creating the ham-barrier in the muffin pan. |
| The Egg Deployment | 2 Minutes | Cracking eggs directly into the “ham-cups.” |
| The Gentle Bake | 12–15 Minutes | Baking at 180°C (350°F) for a soft-set yolk. |
| Total Time | Approx. 20 Minutes | 100% easier than flipping individual omelets. |
Step-by-Step Instructions
1. The Edible Liner Construction
Preheat your oven to 180°C (350°F). Lightly grease a standard 12-slot muffin tin. Press one slice of ham into each cup, pleating the edges so it forms a neat bowl.
Actionable Tip: If your ham slices are very thin, use two per cup. This ensures the “cup” is strong enough to hold the egg without leaking.
2. The Cheese-Base Layer
Sprinkle a teaspoon of shredded cheese into the bottom of each ham cup.
Pro Tip: Placing the cheese at the bottom prevents the egg from sticking to the ham and adds a “molten” surprise when you bite into it.
3. The Whole-Egg Deployment
Crack one egg into each ham-lined cup.
Actionable Tip: If you prefer a “scrambled” texture, whisk the eggs with a splash of milk in a bowl before pouring the mixture into the ham cups. For a classic look, leave the yolk whole.
4. The Aromatic Topping
Sprinkle with chives, paprika, and pepper. Add a tiny pinch of salt to the center of each yolk.
5. The Precision Bake
Slide the tin into the center rack.
- For Runny Yolks: Bake for 12 minutes.
- For Fully Set Yolks: Bake for 15–17 minutes.The whites should be opaque and firm, but the ham edges should be just starting to crisp and darken.
Nutritional Information
This is a keto-friendly, high-protein powerhouse that stabilizes blood sugar for hours.
| Nutrient | Amount Per 2 Cups |
| Calories | 190 kcal |
| Protein | 18g |
| Total Fat | 12g |
| Carbohydrates | 1g |
Common Mistakes to Avoid
- Overcooking: Eggs continue to cook for 1–2 minutes after leaving the oven. Pull the tin out when the centers still have a very slight “jiggle.”
- Using Thick Ham: If the ham is too thick, it won’t pleat properly in the tin and might prevent the egg from cooking evenly. Use standard deli-thin slices.
- Skipping the Grease: Even though the ham acts as a liner, cheese can bubble over the edges. Lightly spraying the top of the muffin tin makes cleanup much easier.
Conclusion
The Ham and Cheese Egg Cups (or Baked Egg and Savory Ham Crustless Quiches) are the ultimate evidence that a 20-minute investment can yield a week’s worth of professional-grade breakfasts. By mastering the “Structural-Casing” technique, you eliminate the need for flour or crust while maximizing flavor. Try serving these with a dollop of fresh salsa or a slice of avocado, let us know if you preferred the runny yolk in the comments, and subscribe for more efficiency-gourmet guides!