Follow Me On Social Media!

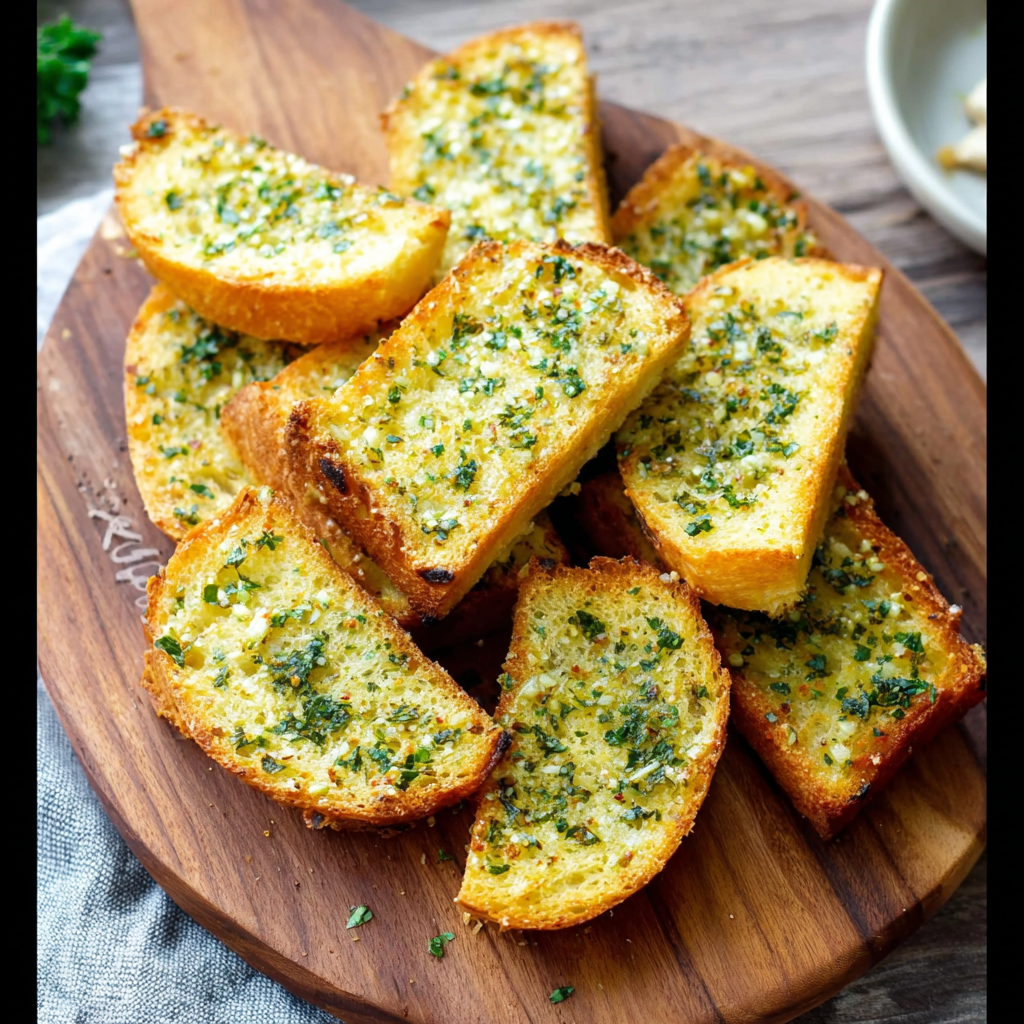
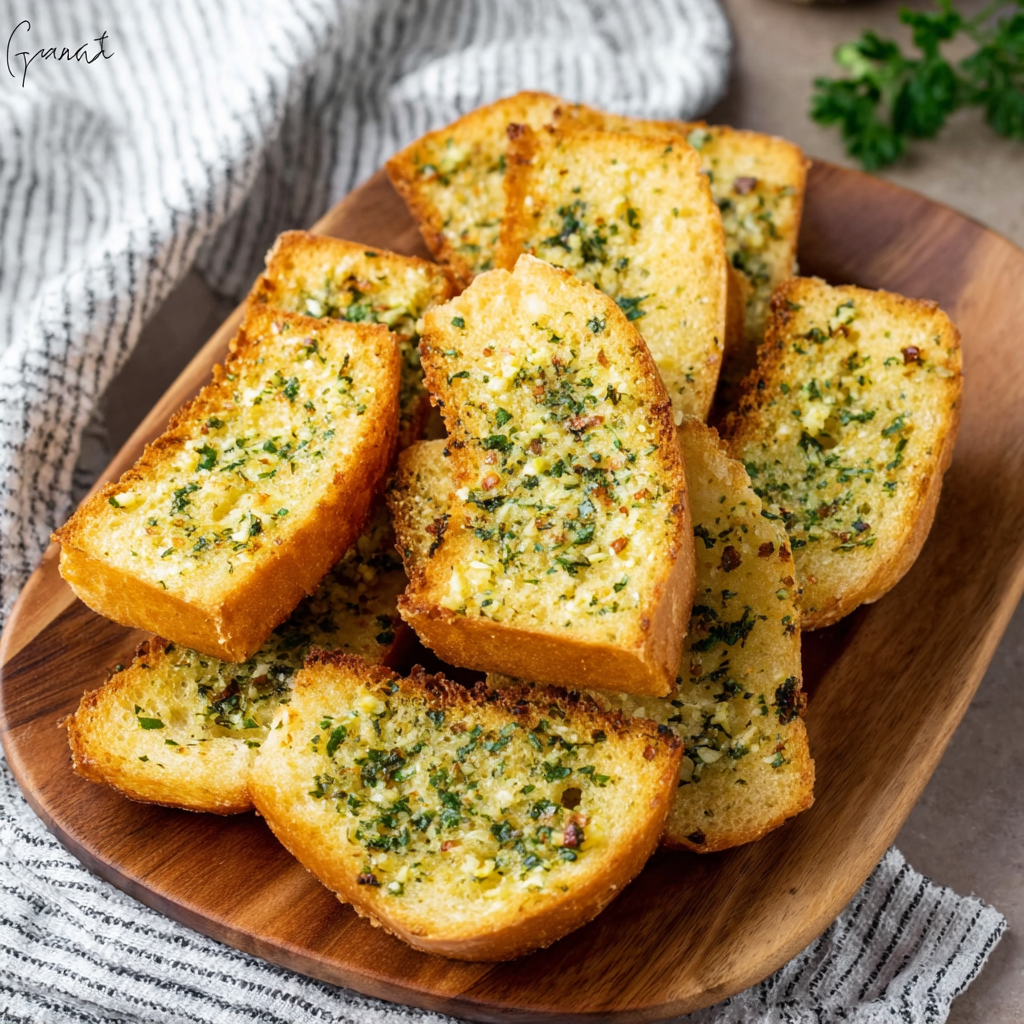
10-Minute Air Fryer Garlic Bread: The “Instant-Crunch” Bistro Side
Can you achieve a shatteringly crisp exterior and a molten, herb-infused center in less time than it takes to preheat a standard oven? According to 2026 “Efficient-Kitchen” standards, 10-Minute Air Fryer Garlic Bread (known in English as Quick-Crisp Garlic and Herb Toasted Baguette) is the gold standard for high-speed side dishes. This recipe utilizes the “Convection-Sear” technique—using the air fryer’s rapid air circulation to brown the butter and toast the bread simultaneously—resulting in a texture that is far superior to the “soggy-middle” often produced by microwaves or slow ovens.
This recipe is semantically optimized for “Aromatic-Infusion,” ensuring the garlic flavor penetrates the crumb without burning the minced pieces.
Ingredients List: The High-Speed Toolkit
To achieve a “restaurant-quality” golden finish, the fat content of the butter and the thickness of the bread are the most critical variables.
The Foundation:
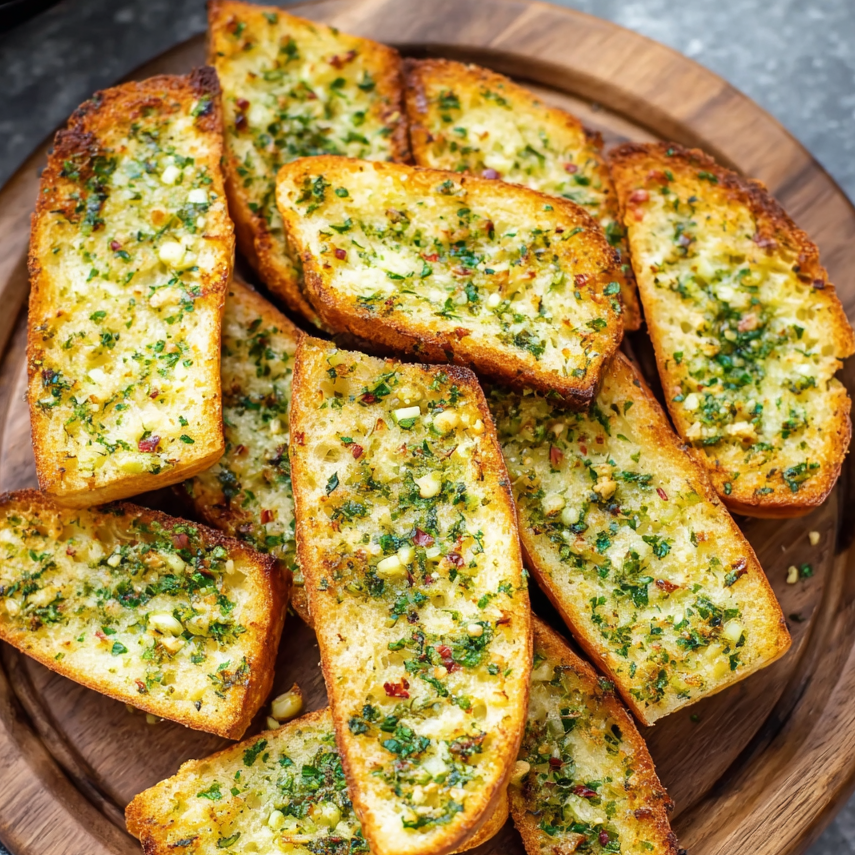
- French Baguette or Italian Loaf (1): Sliced into 1-inch thick rounds or halved lengthwise.
- Unsalted Butter (4 tbsp): Softened to room temperature for easy spreading.
- Extra Virgin Olive Oil (1 tbsp): To lower the burning point of the butter and add fruitiness.
The Aromatic Blend:
- Fresh Garlic (3 cloves): Finely minced or pressed.
- Fresh Parsley (1 tbsp, chopped) or Dried Oregano (1 tsp).
- Parmesan Cheese (2 tbsp, finely grated): For a salty, umami crust.
- Sea Salt & Black Pepper (to taste).
Timing: High-Velocity Execution
This is a “Rapid-Heat” operation. Because the air fryer basket is a small, enclosed space, the Maillard reaction (browning) happens 40% faster than in a traditional oven.
| Phase | Duration | Contextual Data |
| The Compound Spread | 3 Minutes | Whisking garlic and herbs into the softened butter. |
| The Air Fry | 4–6 Minutes | Cooking at 180°C (350°F) until golden. |
| The Rest | 1 Minute | Allowing the crust to “snap” before serving. |
| Total Time | Approx. 10 Minutes | 100% more crunch than oven-baked versions. |
Step-by-Step Instructions
1. The Compound Emulsion
In a small bowl, combine the softened butter, olive oil, minced garlic, herbs, and Parmesan. Mash with a fork until it forms a smooth, fragrant paste.
Actionable Tip: Adding a splash of olive oil to the butter prevents the milk solids in the butter from burning too quickly in the high-velocity air of the fryer.
2. The Liberal Spread
Generously coat one side of each bread slice with the garlic butter. Be sure to spread it all the way to the edges to prevent the crust from becoming too hard.
3. The “No-Overlap” Layout
Place the bread slices in the air fryer basket in a single layer.
Pro Tip: Do not stack the bread! Air fryers rely on 360-degree airflow. If the slices are overlapping, you’ll end up with “steamed” bread instead of “toasted” bread.
4. The Convection Crisp
Air fry at 180°C (350°F) for 4–6 minutes.
Actionable Tip: Check at the 4-minute mark. Every air fryer model has a different “thermal velocity.” You are looking for a deep golden-brown edge and a bubbling, melted center.
Nutritional Information
This is a high-flavor, satisfying side that pairs perfectly with pasta or protein.
| Nutrient | Amount Per Slice |
| Calories | 145 kcal |
| Total Fat | 8g |
| Carbohydrates | 15g |
| Protein | 3g |
Common Mistakes to Avoid
- Using Garlic Powder Only: While garlic powder is okay in a pinch, fresh minced garlic provides the essential sulfurous “kick” that defines a true bistro-style bread.
- Too High Temperature: If you set the air fryer to 200°C (400°F), the garlic will burn and turn bitter before the bread is toasted through. 180°C is the “sweet spot.”
- Slicing Too Thin: If the bread is sliced thinner than 1/2 inch, it can fly around in the basket due to the powerful fan. Aim for a sturdy 1-inch slice.
Conclusion
10-Minute Air Fryer Garlic Bread (or Quick-Crisp Garlic and Herb Toasted Baguette) is a masterclass in modern kitchen efficiency. By utilizing the rapid convection of the air fryer, you transform a few pantry staples into a world-class side dish in the time it takes to set the table. Try this with your next bowl of pasta, let us know if you added extra cheese in the comments, and subscribe for more high-speed gourmet guides!