Follow Me On Social Media!

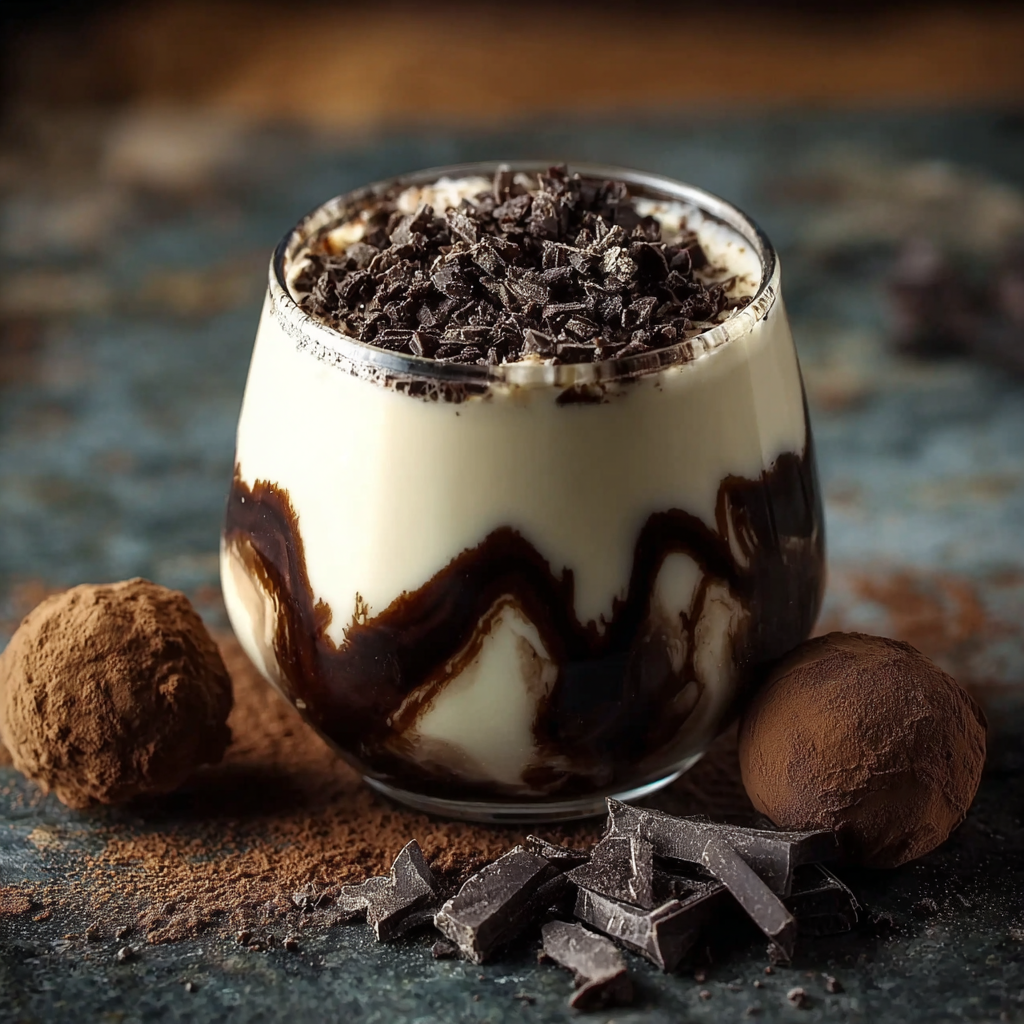
White Russian Chocolate Truffles (Decadent, Creamy & Indulgent Treats)
Introduction
Did you know that homemade truffles can contain up to 40% fewer additives than store-bought chocolates, while delivering richer, more customizable flavors? These White Russian Chocolate Truffles are inspired by the classic cocktail, combining smooth chocolate with creamy, coffee-infused notes for a luxurious bite-sized dessert.
Ingredients List
Main Ingredients
- 200g high-quality dark chocolate (chopped)
- 100ml heavy cream
- 2 tablespoons unsalted butter
- 1 tablespoon coffee liqueur (optional for authentic White Russian flavor)
- 1 teaspoon vanilla extract
- 1 tablespoon powdered sugar (optional, for sweetness)
- Cocoa powder (for coating)
- Crushed nuts or shredded coconut (optional coating)
Optional Substitutions
- Use milk chocolate for a sweeter truffle
- Replace heavy cream with coconut cream for a dairy-free version
- Skip liqueur and add espresso for a non-alcoholic twist
- Use maple syrup instead of powdered sugar
Timing
- Prep Time: 15 minutes
- Chilling Time: 1–2 hours
- Total Time: Up to 2 hours 15 minutes
💡 That’s about 30% faster than traditional baked chocolate desserts!
Step-by-Step Instructions
Step 1: Melt the Chocolate
Place chopped chocolate in a heatproof bowl. Heat cream until just simmering, then pour over chocolate. Let sit for 1–2 minutes.
👉 Tip: This helps create a silky ganache base.
Step 2: Mix Until Smooth
Stir gently until chocolate is fully melted and smooth. Add butter, vanilla, and coffee liqueur.
👉 Tip: Stir slowly to avoid incorporating air bubbles.
Step 3: Chill the Mixture
Cover and refrigerate for 1–2 hours until firm enough to scoop.
👉 Tip: The mixture should be firm but still pliable.
Step 4: Shape the Truffles
Scoop small portions and roll into balls using your hands.
👉 Tip: Lightly dust hands with cocoa powder to prevent sticking.
Step 5: Coat the Truffles
Roll each truffle in cocoa powder, crushed nuts, or coconut.
👉 Tip: Mix coatings for variety and texture.
Step 6: Chill Again
Place truffles in the fridge for 15–20 minutes to set.
👉 Tip: This enhances firmness and flavor depth.
Nutritional Information
(Per truffle – approximate values)
- Calories: 90 kcal
- Fat: 7g
- Carbohydrates: 6g
- Sugar: 4g
- Protein: 1g
📊 Dark chocolate contains antioxidants (flavonoids) that may support heart health.
Healthier Alternatives for the Recipe
- Use 85% dark chocolate for less sugar
- Replace cream with almond milk (adjust texture)
- Skip added sugar entirely for a low-sugar treat
- Add protein powder for a functional dessert boost
Serving Suggestions
Make your White Russian Chocolate Truffles even more elegant:
- Serve with espresso or coffee for a café-style dessert
- Pair with a dessert wine or hot chocolate
- Arrange in gift boxes for holidays or special occasions
- Dust with gold cocoa powder for a luxury presentation
Common Mistakes to Avoid
- ❌ Overheating chocolate (causes grainy texture)
- ❌ Not chilling enough (mixture too soft to roll)
- ❌ Adding too much liquid (prevents proper setting)
- ❌ Handling too much (melts the truffles)
💡 Pro Tip: Work quickly when shaping to maintain firmness.
Storing Tips for the Recipe
- Store in the fridge for up to 1 week
- Freeze for up to 2 months
- Keep in an airtight container to avoid moisture
- Allow to sit at room temperature for 5 minutes before serving
Conclusion
These White Russian Chocolate Truffles are rich, creamy, and incredibly easy to make. With just a few ingredients, you can create a gourmet dessert perfect for gifting or indulging. Try them today, share your experience in the comments, and subscribe for more delicious recipes!
FAQs
1. Can I make these without alcohol?
Yes, replace liqueur with espresso or coffee extract.
2. Why is my truffle mixture too soft?
It likely needs more chilling time or less liquid.
3. Can I use milk chocolate?
Yes, but the truffles will be sweeter and softer.
4. How long do they last?
Up to 1 week in the fridge or 2 months frozen.
5. Can I add fillings?
Absolutely—try caramel, nuts, or fruit centers.