Follow Me On Social Media!

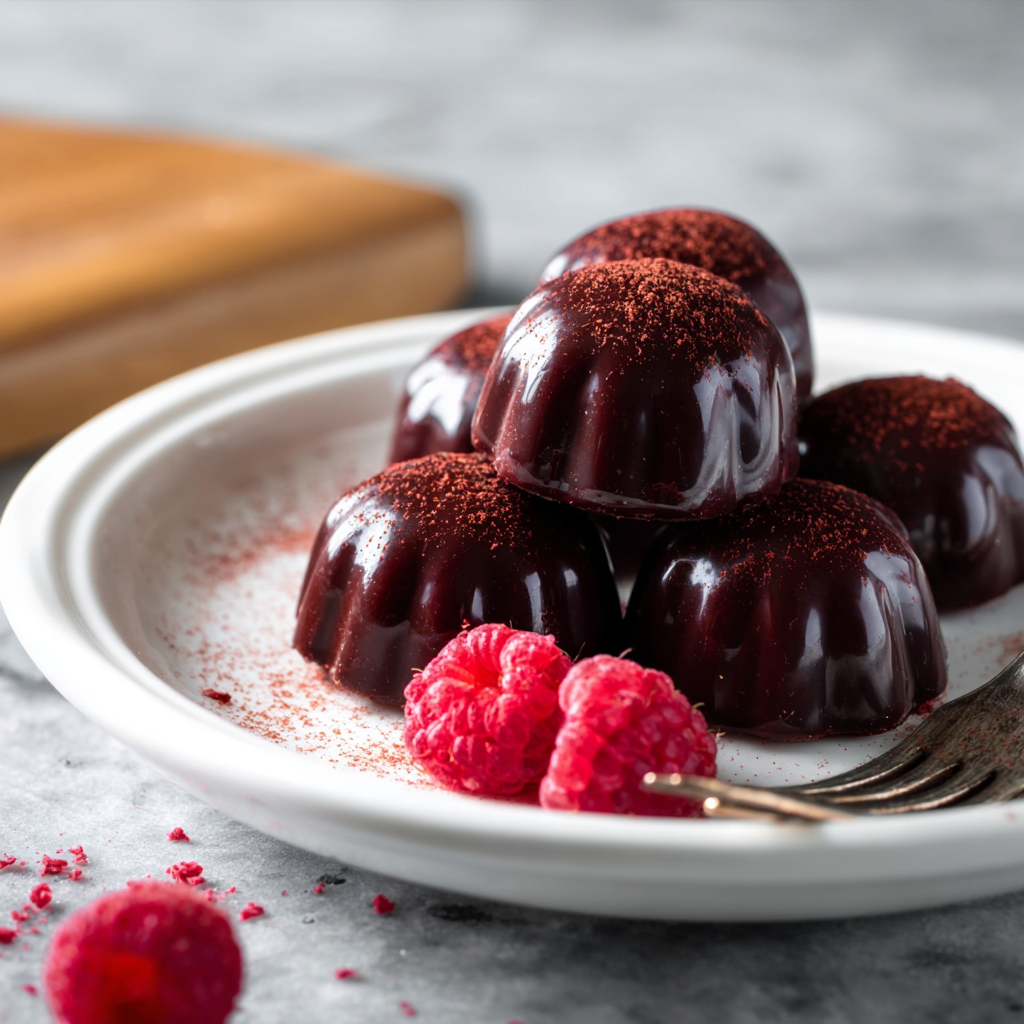
Dracula’s “Bleeding” Raspberry Chocolates (The Ultimate Halloween Treat)
Introduction
Halloween treats often fall into two categories: cute and cartoony, or genuinely spooky. These Dracula Raspberry Chocolates fit firmly into the latter.
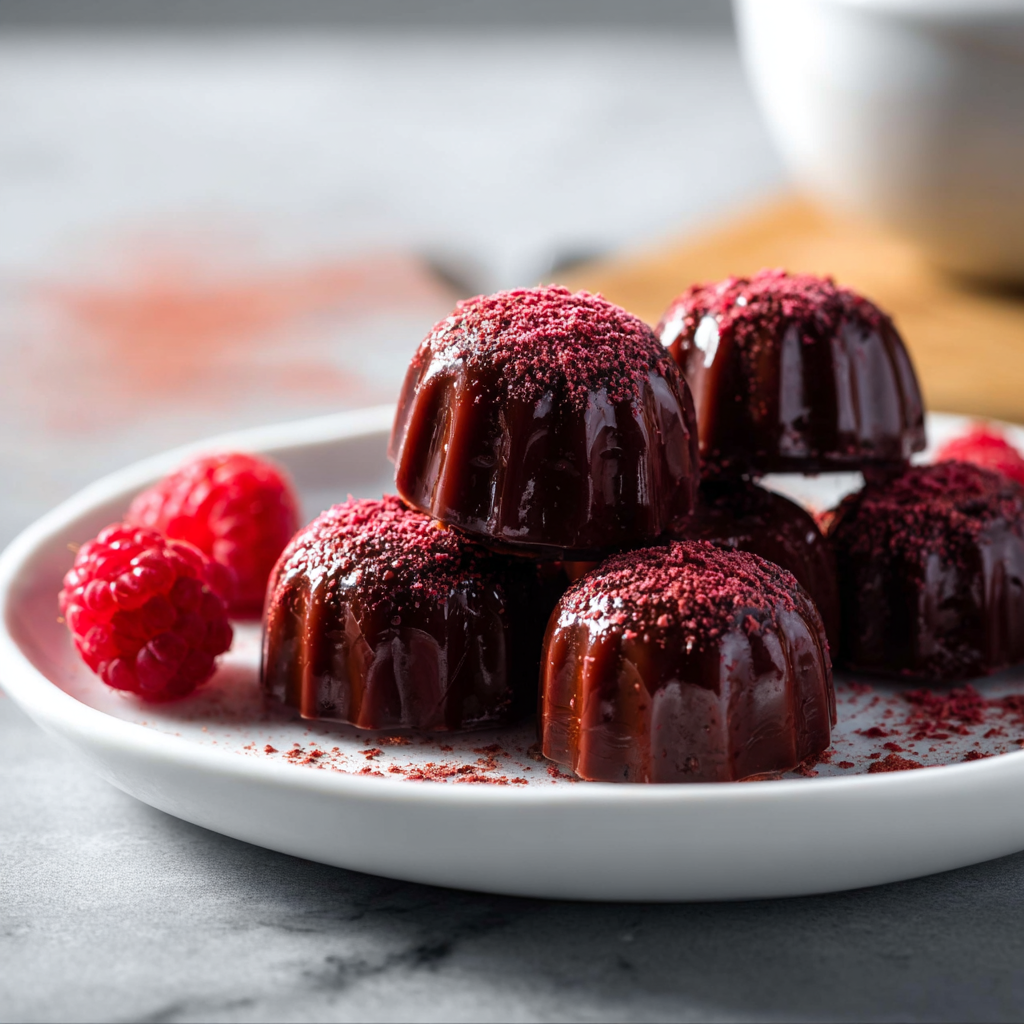
Imagine biting into a crisp, snap-tempered shell of midnight-dark chocolate, only to release a burst of vibrant, crimson-red raspberry “blood.” It is theatrical, delicious, and perfectly on-theme for the spooky season.
Unlike store-bought candy corn or plastic-wrapped chocolates, these homemade confections offer a sophisticated flavor profile. The bitterness of 70% dark chocolate provides the perfect coffin for the tart, sweet raspberry reduction hidden inside. They are elegant enough for an adult dinner party but fun enough to thrill the kids.
Ingredients List

We need a shell that snaps and a filling that flows.
The Vampire Shell
- 8 oz (225g) High-Quality Dark Chocolate: (60%–70% Cacao).
- Recommendation: Use couverture chocolate bars (like Ghirardelli or Lindt) rather than standard chocolate chips. Chips contain stabilizers that make them harder to melt smoothly.
- 1 tsp Coconut Oil: (Optional). This gives the chocolate a glossy sheen and makes it slightly easier to work with if you aren’t tempering professionally.
The “Blood” Filling
- 1 cup Raspberries: Fresh or frozen.
- 2 tbsp Granulated Sugar: To balance the tartness.
- 1 tsp Lemon Juice: Enhances the bright red color and fruit flavor.
- 1 tsp Cornstarch + 1 tbsp Water: This slurry thickens the sauce just enough so it oozes like blood rather than running like water.
- Optional: 1 drop Red Gel Food Coloring (if you want an exaggerated, neon-blood look, though natural raspberry red is usually sufficient).
Sensory Note: The filling is designed to be liquid. When your guests bite down, the contrast between the hard shell and the sudden release of cool, tart syrup is the “jump scare” of the dessert.
Timing
This recipe requires patience between chilling steps.
- Prep Time: 30 minutes
- Cook Time: 10 minutes (for the sauce)
- Chill Time: 45 minutes
- Total Time: ~1 hour 30 minutes
- Yields: 15–18 Chocolates (depending on mold size)
Data Insight: Raspberries are high in pectin. By simmering them with lemon juice and sugar, we naturally thicken the liquid. However, straining out the seeds is scientifically vital here—seeds block the flow of the “blood” and ruin the illusion.
Step-by-Step Instructions
Step 1: The “Blood” Reduction
- In a small saucepan, combine raspberries, sugar, and lemon juice.
- Simmer over medium heat for 5–7 minutes, mashing the berries with a fork until they break down into a liquid.
- Strain: Pour the mixture through a fine-mesh sieve into a clean bowl. Press hard with a spoon to extract all the red juice. Discard the seeds.
- Thicken: Return the seedless juice to the pan. Mix the cornstarch and water in a small cup, then whisk it into the juice. Boil for 1 minute until slightly thickened (consistency of maple syrup).
- Cool: Place in the fridge. Crucial: The filling must be ice cold before you use it, or it will melt your chocolate shell.
Step 2: The Shell (Bottom & Sides)
- Melt the dark chocolate (and coconut oil, if using) in the microwave in 30-second intervals, stirring in between, until smooth.
- The Coat: Spoon a small amount of chocolate into the cavities of a silicone mold (shapes like hearts, domes, or even skulls work best).
- Use a small paintbrush or the back of a spoon to paint the chocolate up the sides of the mold. Ensure there are no see-through gaps.
- Freeze: Place the mold in the freezer for 10 minutes to set the shell.
Step 3: The Filling
- Remove mold from freezer.
- Spoon a small amount (about ½ tsp) of the cold raspberry sauce into the center of each chocolate cup.
- Warning: Do not overfill! Leave at least 2mm of space at the top for the chocolate cap.
Step 4: The Cap
- Gently spoon the remaining melted chocolate over the raspberry filling.
- Use a flat spatula or bench scraper to scrape across the top of the mold, leveling off the chocolate and ensuring the edges are sealed tight.
- Freeze: Return to the freezer for 20 minutes until completely solid.
Step 5: The Reveal
- Gently pop the chocolates out of the silicone mold.
- Serve on a dark platter for maximum dramatic effect.
Nutritional Information
A surprisingly low-calorie treat compared to a candy bar. Below is the estimated breakdown per chocolate.
| Nutrient | Amount per Serving | % Daily Value* |
| Calories | 75 kcal | 4% |
| Total Fat | 5g | 8% |
| Saturated Fat | 3g | 15% |
| Carbohydrates | 8g | 3% |
| Sugars | 6g | – |
| Antioxidants | High | – |
Variations for the Recipe
- The “Poison” Filling: Add a splash of Green Food Coloring to the raspberry mix (or use Kiwi puree) for a witchy, toxic sludge look.
- Boozy Bites: Stir 1 tablespoon of Chambord (Raspberry Liqueur) or Vodka into the cooled sauce for an adult kick.
- White Chocolate Ghosts: Use white chocolate for the shell. The red filling will slightly show through, looking like veins—creepy and cool!
- Spicy Blood: Add a pinch of Cayenne Pepper to the chocolate for a “Mexican Hot Chocolate” vibe that bites back.
Serving Suggestions
- The Prop: Serve these alongside plastic vampire fangs.
- The Drink: Pair with a glass of Pinot Noir or a dark Blackberry Margarita.
- The Plating: Dust the serving plate with cocoa powder or red sprinkles.
Common Mistakes to Avoid
- Leaking Chocolates:
- The Issue: The shell walls were too thin.
- The Fix: When painting the mold, hold it up to the light. If you see light coming through the chocolate, add a second coat before filling.
- Melting Shells:
- The Issue: Adding warm raspberry sauce to the chocolate.
- The Result: The chocolate cup melts instantly, creating a puddle.
- The Fix: Patience. The sauce must be cold.
- Seized Chocolate:
- The Issue: Water getting into the melting chocolate.
- The Fix: Ensure your bowls and spoons are bone dry. Even one drop of water ruins chocolate.
Storing Tips for the Recipe
- Refrigeration: Because of the fresh fruit filling, store these in an airtight container in the fridge for up to 5 days.
- Freezing: You can freeze them for 1 month. Thaw in the fridge, not on the counter, to prevent “sweating” (condensation).
Conclusion
Dracula Raspberry Chocolates are the perfect combination of culinary technique and holiday fun. They demand a little precision, but the payoff is worth it when you see your guests’ reaction to the “bleeding” center. Whether you are hosting a costume party or just watching horror movies on the couch, these chocolates add a touch of dark elegance to the night.
Ready to bite? Sharpen your fangs! If you try this recipe, please leave a star rating below and let us know: did you use a skull mold or a classic round one? Don’t forget to subscribe to our newsletter for more spooky seasonal eats.
FAQs
Q: Do I have to temper the chocolate?
A: For a professional “snap” and shelf-stability at room temp, yes. But for a home party where they will be eaten quickly from the fridge, simply melting high-quality chocolate works fine.
Q: Can I use strawberry jam instead?
A: Yes! Seedless strawberry jam is a great shortcut. Whisk it with a little lemon juice to loosen it up so it flows better.
Q: Where do I get silicone molds?
A: Amazon or craft stores (like Michaels) usually have extensive candy mold sections, especially around Halloween.