Follow Me On Social Media!

Fail-Proof Baked Egg Custard (Silky & Simple, 60 Min)
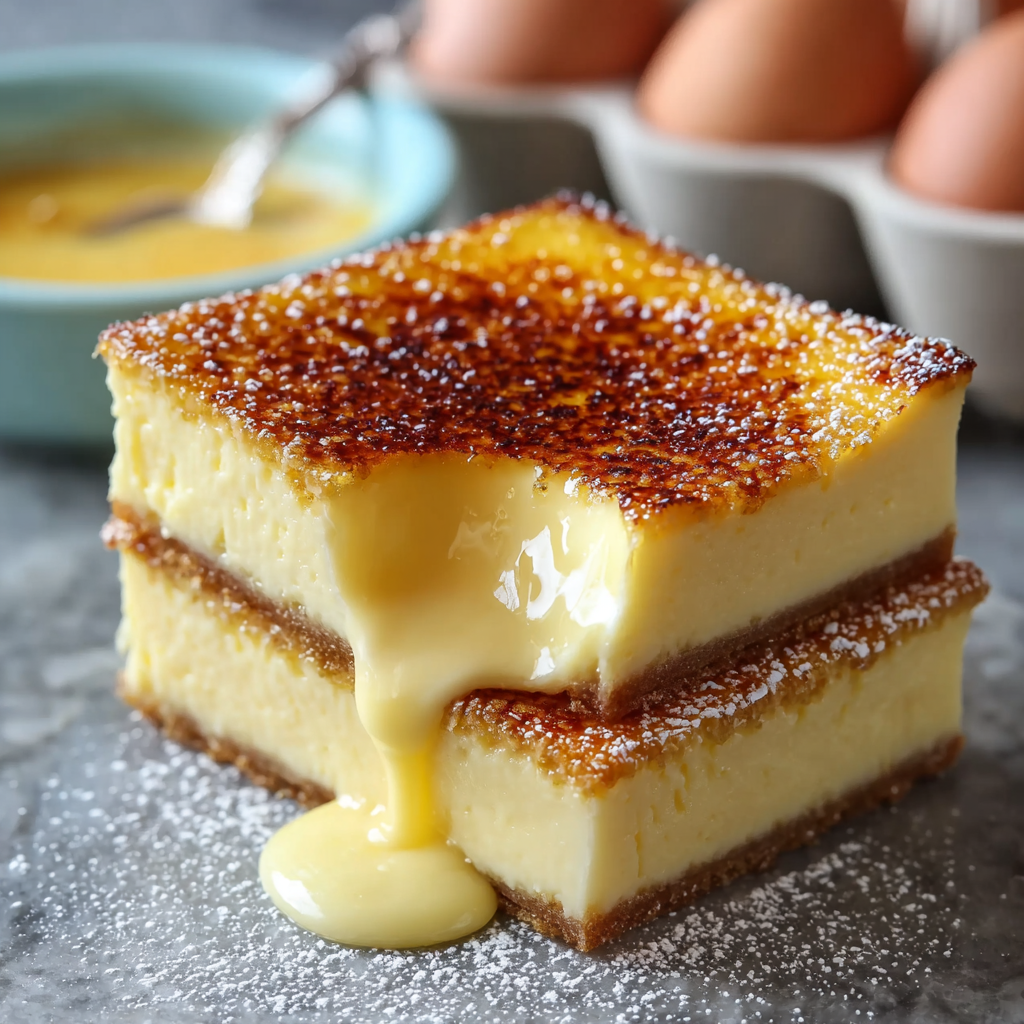
This fail-proof egg custard recipe delivers silky, vanilla-kissed baked custard every time. Simple pantry ingredients, gentle water bath, guaranteed creamy results.

If a dessert could feel like a warm sweater on a cool evening, this fail-proof egg custard recipe would be it, and I promise you the results are as dreamy as they sound. I love how a handful of humble pantry staples transforms into something so silky, gently sweet, and nostalgic that it tastes like a memory. There is no fancy equipment, no tricky technique, and no water bath drama when you follow these small, reliable steps. Just a spoonful of that vanilla-scented custard with a whisper of nutmeg on top, and you’ll wonder why you ever bought custard from a store.
Fun fact: baked egg custard is one of the oldest known desserts, showing up in medieval European cookbooks as a savory-sweet “crustade” long before it became the delicate spoon dessert we adore today.
Why this recipe works
- The warmed milk gets slowly streamed into the eggs, which tempers them gently and keeps everything perfectly smooth.
- A low oven temperature and a hot water bath cradle the custards so they set softly without ever cracking or weeping.
- Whole milk provides just enough richness to feel indulgent, while still keeping the dessert light and spoon-tender.
- The recipe leans on ingredients you almost certainly already own, so it is a wonderful last-minute dessert.
- It is naturally gluten-free and lovely served warm, chilled, or somewhere delightfully in between.
Ingredients
- 4 large eggs
- ½ cup granulated sugar
- ¼ teaspoon salt
- 2 teaspoons pure vanilla extract
- 4 cups whole milk
- Ground nutmeg, for dusting the tops
Instructions
Step 1: Heat the oven and set up your pan
Preheat the oven to 325°F (165°C). Arrange six ramekins (or one medium baking dish) inside a large roasting pan so they have a little breathing room. Setting the pan up now means you won’t be juggling hot water and delicate custard later.
Step 2: Warm the milk gently
Pour the milk into a saucepan and set it over medium heat. Warm it just until you see wisps of steam rising and small bubbles gathering at the edges. You want it hot to the touch, but nowhere near a simmer, because aggressive heat is the fastest way to lose that silky texture.
Step 3: Whisk the custard base
In a roomy mixing bowl, whisk the eggs, sugar, salt, and vanilla until the mixture is smooth and the color turns a pale, sunny yellow. Then, slowly and steadily, stream the warm milk into the eggs while whisking constantly. Taking this part gently keeps the eggs from scrambling and gives you a beautifully uniform custard.
Step 4: Fill the ramekins and dust with nutmeg
Divide the custard mixture evenly among the ramekins, filling each nearly to the top. Give the surface of each one a soft dusting of ground nutmeg. That fragrant little snowfall of spice is what makes the finished dessert feel truly old-fashioned.
Step 5: Add the water bath
Carefully pour hot tap water into the roasting pan, aiming for the water line to reach about halfway up the sides of the ramekins. This gentle steam bath is my secret to a custard that bakes evenly, sets smoothly, and never develops a rubbery edge.
Step 6: Bake, cool, and serve
Slide the pan into the oven and bake for 40 to 50 minutes. You are looking for edges that appear set with a center that still wobbles slightly when nudged. A knife slipped near the middle should come out mostly clean. Lift the ramekins carefully from the water, let them rest until just warm, and serve straight away or chill until cold.
Nutrition information
- Calories: 175
- Protein: 8 g
- Carbohydrates: 21 g
- Sugars: 21 g
- Fat: 7 g
- Saturated fat: 3.5 g
- Calcium: 210 mg
- Sodium: 165 mg
Values are approximate and calculated per serving, based on six servings.
Pro tips for the best egg custard
- Warm the milk, do not scald it. The moment it starts to bubble hard, the custard risks becoming grainy.
- Temper slowly with a steady whisking hand. Rushing this step is the number one cause of curdled custard.
- Strain the mixture through a fine-mesh sieve for the smoothest possible finish. It only takes a minute and it truly makes a difference.
- Trust the jiggle. Custard continues to firm up as it rests, so pulling it out slightly under-set is the right call.
- Freshly grated nutmeg is worth the tiny effort, giving a warmer and rounder aroma than pre-ground.
Delicious variations
- Cinnamon custard: Swap the nutmeg for a cozy dusting of ground cinnamon.
- Coconut custard: Replace one cup of the milk with full-fat coconut milk for tropical richness.
- Caramel custard: Spoon a little caramel sauce into the bottom of each ramekin before pouring in the custard.
- Citrus custard: Whisk in a teaspoon of lemon or orange zest for a fresh, bright lift.
- Maple vanilla custard: Use maple syrup in place of half of the sugar for a mellow, wintry sweetness.
Frequently asked questions
Why did my custard turn out curdled?
Curdling almost always comes from too much heat, either the milk boiling before it hits the eggs or the oven running hotter than you think. A gentle warm-and-whisk approach paired with a low oven and a water bath keeps things silky.
How do I know when the custard is done baking?
The edges should look set and firm, while the middle still gives you a soft, wobbly jiggle when you tap the pan. It will finish setting as it cools on the counter.
Can I make this custard ahead of time?
Absolutely, and I would argue chilled custard is even lovelier the next day. Bake, cool, cover, and refrigerate up to 24 hours before serving for the most refreshing spoonful.
How long will egg custard keep in the fridge?
Stored covered in the refrigerator, the custards stay creamy and delicious for up to 4 days. Give them a quick sniff and look before serving leftovers.
Can I freeze baked egg custard?
I don’t recommend it. The delicate protein structure tends to weep and turn grainy after thawing, and you will lose that silky mouthfeel that makes this dessert so special.